Easy Mongolian Beef Recipe with Rice

April is almost here and it is snowing again here in Canada so we were craving some comfort food. An easy Mongolian Beef recipe with steamed rice sounded perfect. This recipe only takes about 30 minutes including prep so it’s great for a weeknight meal.

Because Mongolian beef is not typically spicy, you don’t have to add the red pepper flakes. It depends on preference, but either way, you can’t go wrong!

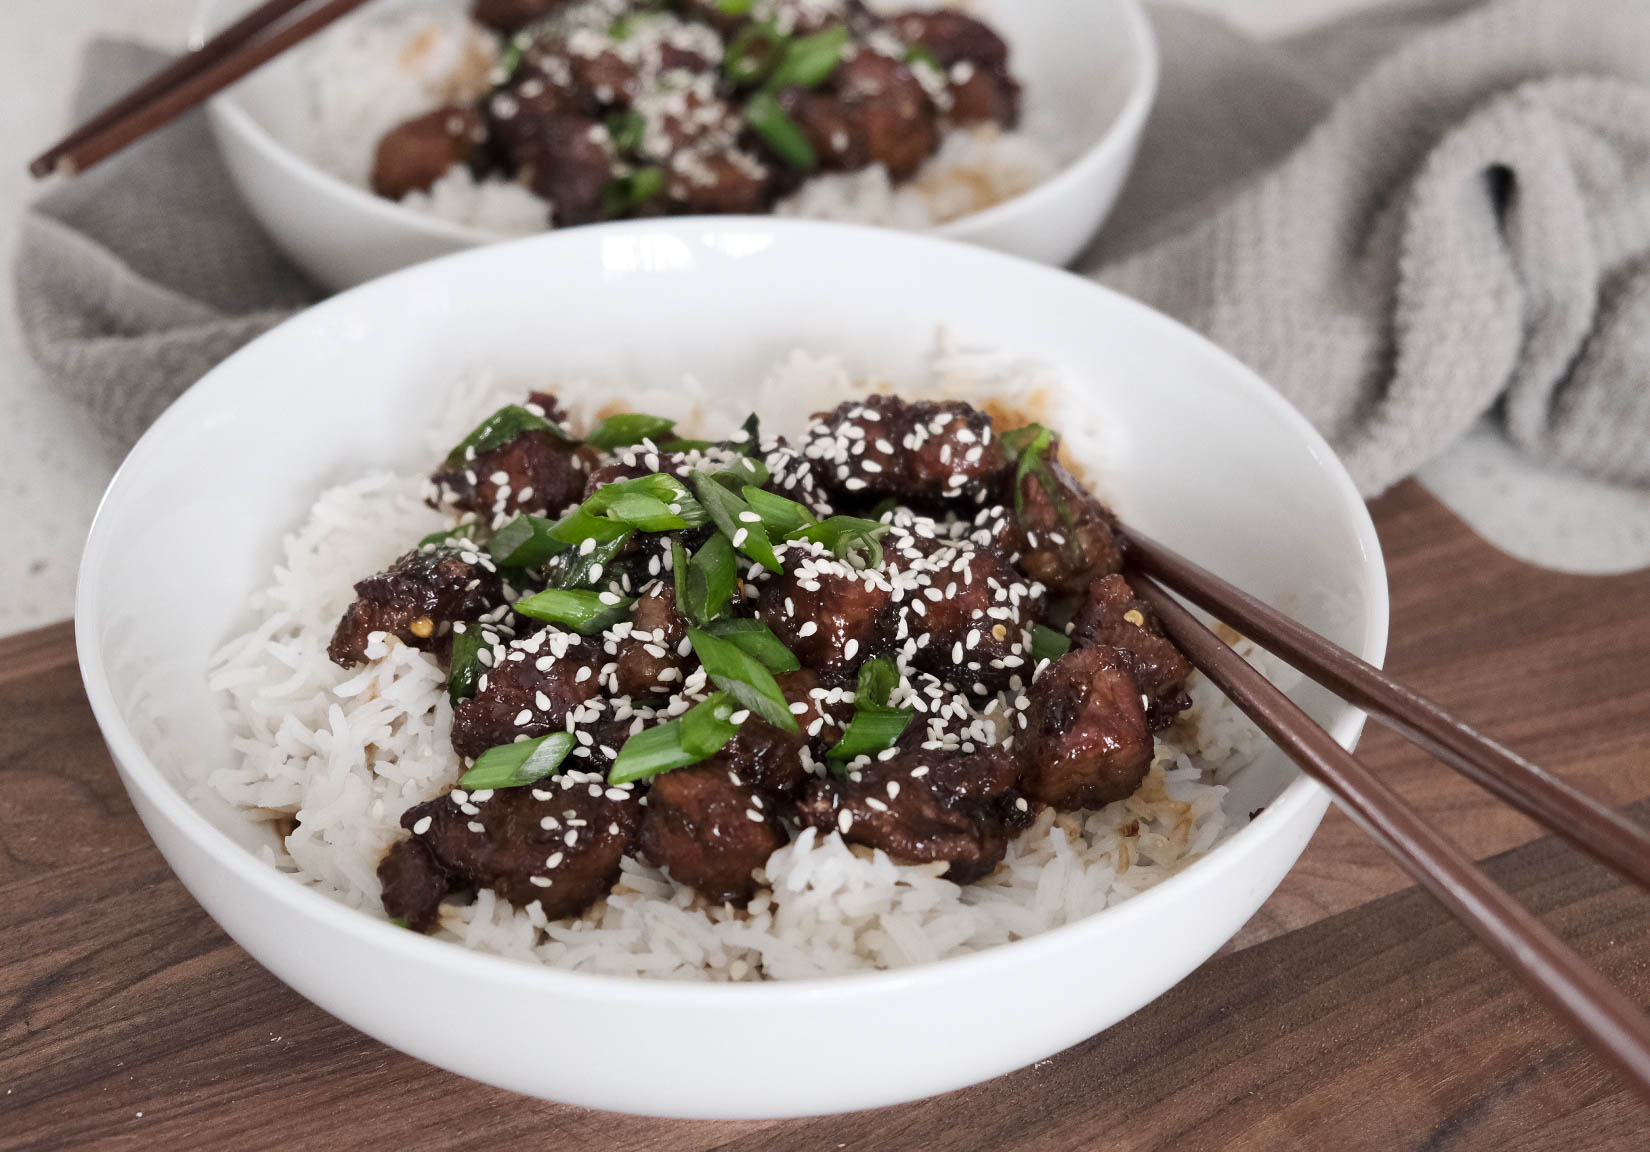
Easy Mongolian beef recipe with rice

Ingredients

  • 1 Pound of stewing beef or flank steak cut into bite sized pieces (about 1-1.5 inch cubes)
  • 1 Tablespoon fresh ginger, grated with a Cheese Grater
  • 3 cloves of garlic pressed with a Garlic Press
  • 1/2 Teaspoon of red pepper flakes (optional)
  • 3 stalks of green onion chopped into 1/4-1/2 inch pieces
  • 1/3 Cup of low sodium soy sauce
  • 1/4-1/3 Cup of brown sugar (depending on how sweet you like yours, I used 1/4 cup)
  • 1/3 Cup of water
  • 1/4 Cup corn starch
  • 4-5 Tablespoons of Canola or Vegetable oil
  • Sesame seeds for topping
  • Steamed rice for serving

Directions

  1. Heat 1 Tablespoon of canola oil in a deep pan over medium-low heat, add your garlic and ginger and cook until fragrant (30-60 seconds). Watch carefully and don’t burn your garlic.
  2. Add your soy sauce, water, brown sugar and red pepper flakes to a bowl or Glass Measuring Cup and Whisk to combine. Add to pan and simmer on low for 10-12 minutes making sure not to burn. (Remove from heat if finished before beef)
  3. While your sauce reduces, coat the beef with the cornstarch, using less if needed, just make sure to coat evenly.
  4. Heat about 4 tablespoons of canola oil in a large pan on medium/ medium-high heat and add your beef. Let cook for about 3 minutes per side. (This splatters quite a bit so a mesh Splatter Screen is super helpful)
  5. Add your beef (drained of excess oil) and green onions to your sauce mixture and toss together.
  6. Serve over steamed rice and top with more green onion and sesame seeds if desired.

This recipe has been adapted from the site linked below.
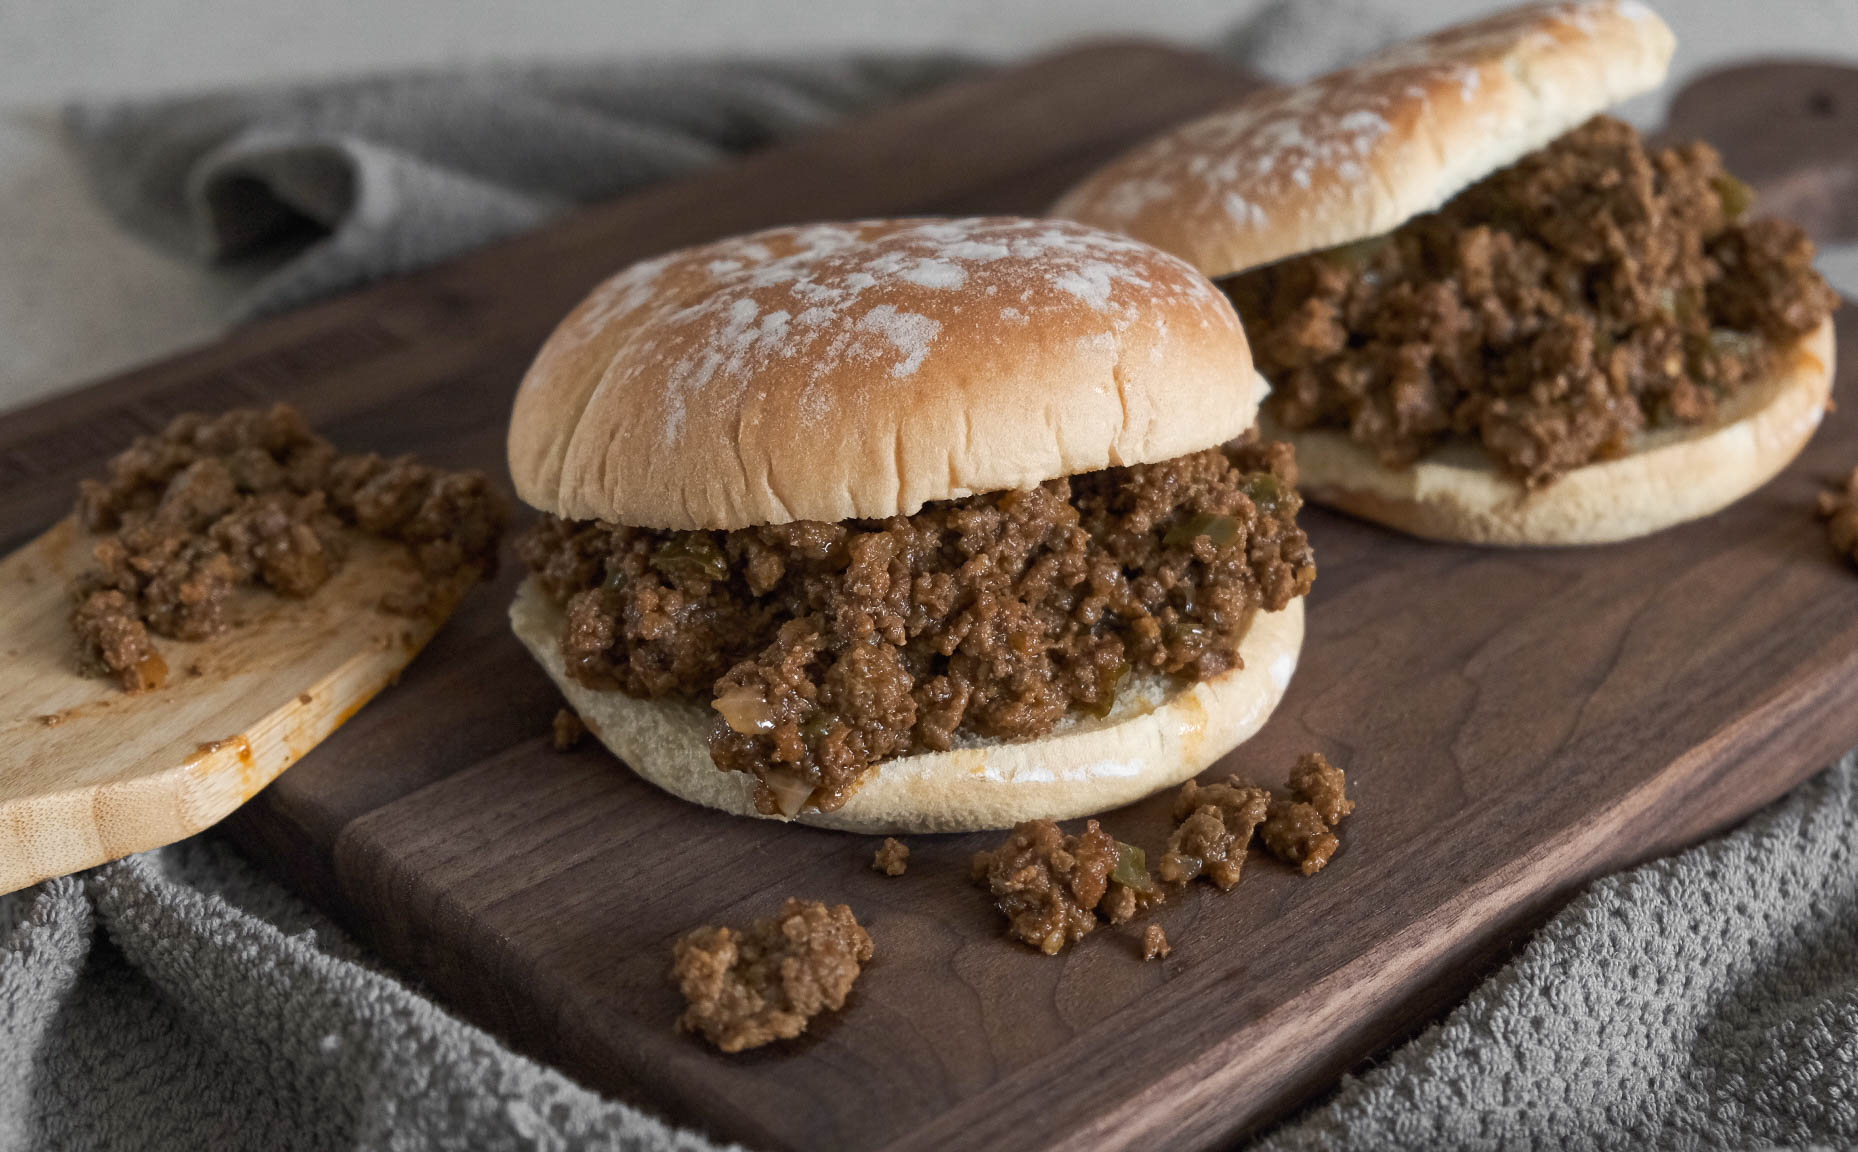
Easy and Spicy Sloppy Joes in the Crockpot

For me, it doesn’t get much better than a nice meal made in the crockpot. Coming home from work or running weekend errands while dinner is cooking? Yes please! This recipe does require a little prep before tossing everything in and walking away, but it’s worth it.

It has been pretty cool and rainy out the last few days and I was really craving a nice crockpot meal. This is one of my go-to crockpot meals for autumn and winter, but they are great to have year round.

We did end up getting a little sun in the afternoon today and Rocky was really enjoying it!

I love my spicy foods, and this is a great recipe to experiment and add different kinds of spices. An absolute must though, is the celery seed! I can’t tell you how many dishes that I use celery seed in and it just makes it that much better.

Ingredients

  • 2 pounds ground beef
  • 1 yellow onion finely chopped
  • 3 cloves garlic minced
  • 1 green bell pepper finely chopped
  • 1 jalapeño seeds removed and diced
  • 1 6oz can vegetable juice, I used V8
  • 1/2 cup ketchup
  • 1 tablespoon yellow mustard
  • 1 tablespoon Worcestershire
  • 1 tablespoon Tabasco (or any other hot sauce of your liking)
  • 1/2 tablespoon horseradish
  • 1/2 tablespoon chili powder
  • 2 tablespoons brown sugar
  • 1 tablespoon celery seed
  • 1/2 teaspoon pepper
  • 6-8 burger buns

Directions

  1. Cook your ground beef in a large pan until its about halfway cooked, then add in your onion, garlic, bell pepper, and jalapeño and cook until ground beef is fully cooked, and your onions and peppers are softened.
  2. Drain the fat off of your ground beef and place in the crockpot.
  3. Add the rest of your ingredients into a bowl or large measuring cup and whisk to incorperate. Then pour over your ground beef mixture,
  4. Cook in the crockpot on low (recommended) for 8-10 hours, or on high for 3-4 hours and enjoy!

Notes: Everything is fully cooked so you can eat it whenever you like, I personally think that the longer it sits the better! So next day leftovers are always my favorite.

Amazon has a lot of great options for crockpots so here are some of my favorites: Crockpot 1 Crockpot 2 Crockpot 3 Crockpot 4

The camera we use: Fujifilm Camera Fujifilm Camera with Lens

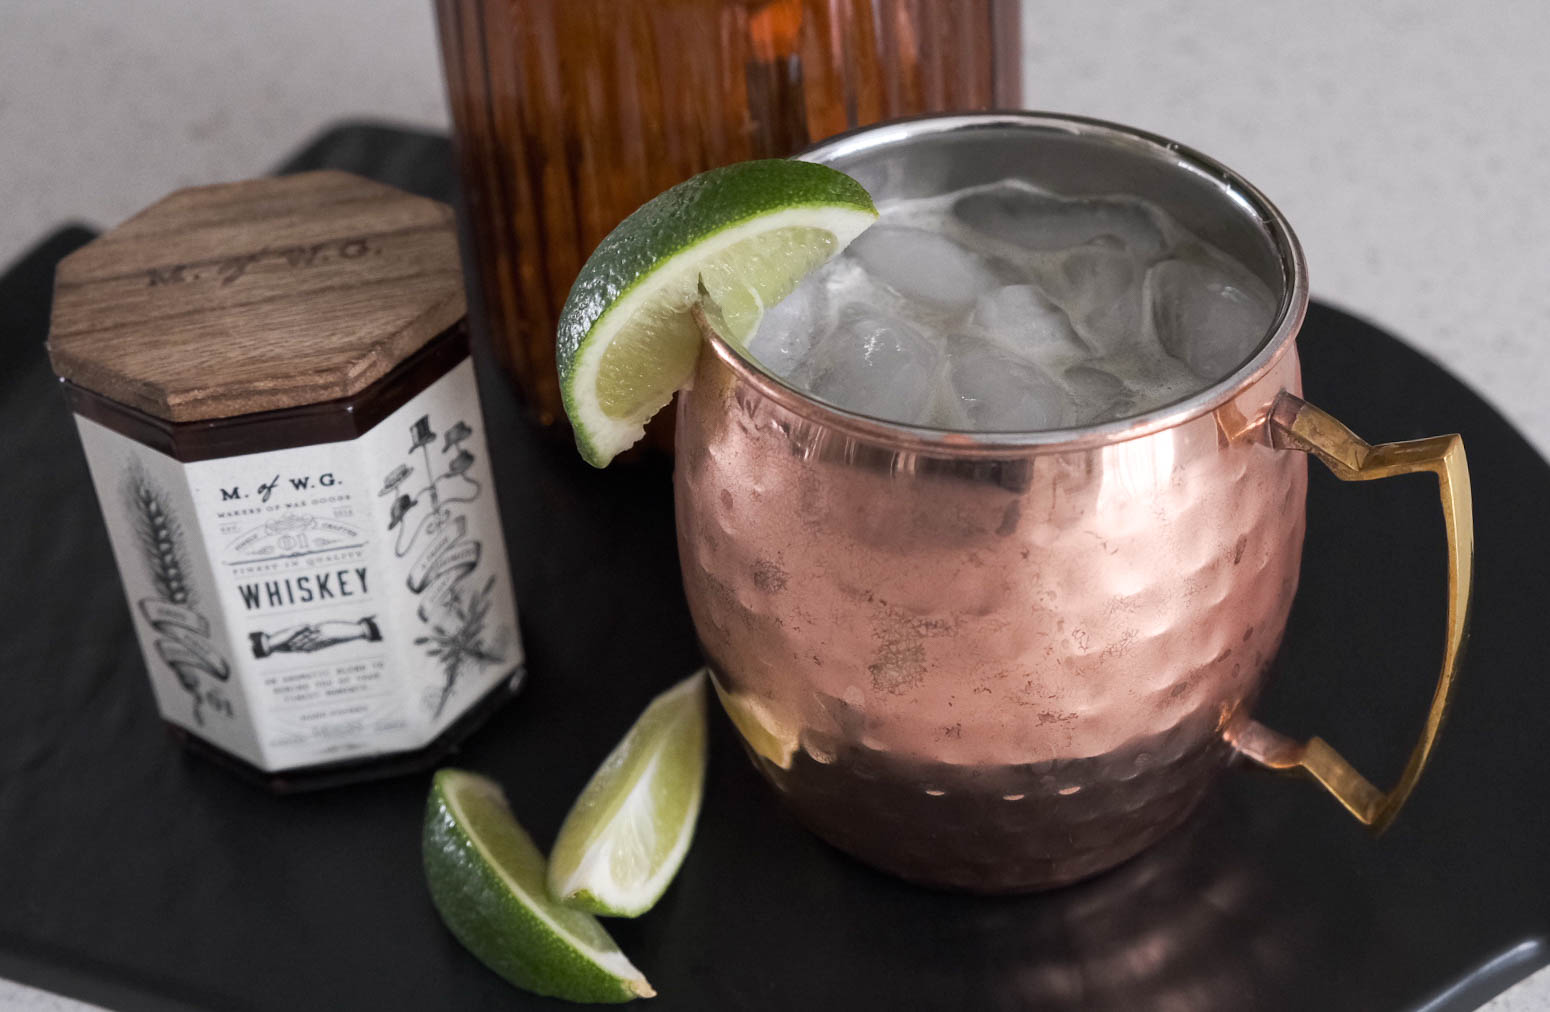
Easy Moscow Mule Made with Gin

I love making cocktails! Whether it’s for me or friends, I find it so satisfying to make a good drink and even more satisfying, enjoying one with them. With how the last couple years have gone, I have learned to make some of my favorite cocktails at home and it’s not as complicated as you might think.

You only need 3 ingredients

So, traditionally a Moscow mule is made with vodka which I also love, but I tend to have gin around more often so that is what I like to use. My favorite gin is The Botanist, but you can use whatever gin you like.

Again, you can use whatever ginger beer you like, one of my favorites is from The Great Gentleman. It is very spicy but that is how I like my mules, spicy!

Ingredients

  • 2 oz of you favorite gin
  • Juice from 1 lime/ about 1 oz
  • 6 oz ginger beer
  • 1 cup ice

Directions

  1. Pour your gin and lime juice into your cup and add about 1 cup of ice.
  2. Top with your ginger beer and stir, enjoy!

Mule mugs: Moscow Mule Mugs

Metal Straws: Metal Straws1 Metal Straws2

Cocktail Jigger for measuring: Cocktail Jigger

Investing in a cocktail set is ideal if you plan on making them at home. I highly recommend this type of shaker over the ones with the built in strainer and tiny lids: Cocktail Set

The camera we use: Fujifilm Camera Fujifilm Camera with Lens

Simple and Delicious Peanut Butter Cookies

This is probably my favorite cookie recipe. It’s so simple but such a staple for anyone who loves peanut butter.

Now, I used to always make this recipe with shortening, which also makes amazing crumbly cookies. But lately I have been using butter in them and let me tell you, the flavor is so good! The dough from this recipe is also a little easier to work with, it holds together much better.

I used an ice cream scoop (size 40) for my peanut butter cookies.

Today was oddly warm and the pups were super happy about it! They were pretty sleepy while I was baking.

Enjoying some sun.

Ingredients

  • 3 cups flour
  • 1/2 tablespoon baking powder
  • 1/2 tablespoon baking soda
  • 1/2 teaspoon salt
  • 1 cup brown sugar
  • 1 cup white sugar
  • 1 cup (or two sticks) of butter softened/room temperature (or you can use vegetable shortening)
  • 2 eggs
  • 1 cup 100% peanut butter
  • 2 teaspoons pure vanilla extract

Directions

  1. Preheat your oven to 350°
  2. Add your flour, baking powder, baking soda and salt to a medium bowl and whisk until combined, set aside.
  3. In a large bowl, mix your butter, eggs, sugars, vanilla and peanut butter until it has a nice whipped consistency (about a minute or two).
  4. Slowly add your flour mixture into your wet ingredients, mixing until combined. Making sure to scrape the sides of your bowl with a rubber spatula so that everything is incorperated.
  5. Chill your dough for 1-2 hours (this is optional), then using an ice cream scoop, scoop the dough onto cookie sheet, lined with either parchment paper or with a silicone baking mat. Making sure your cookies are about the size of a golf ball.
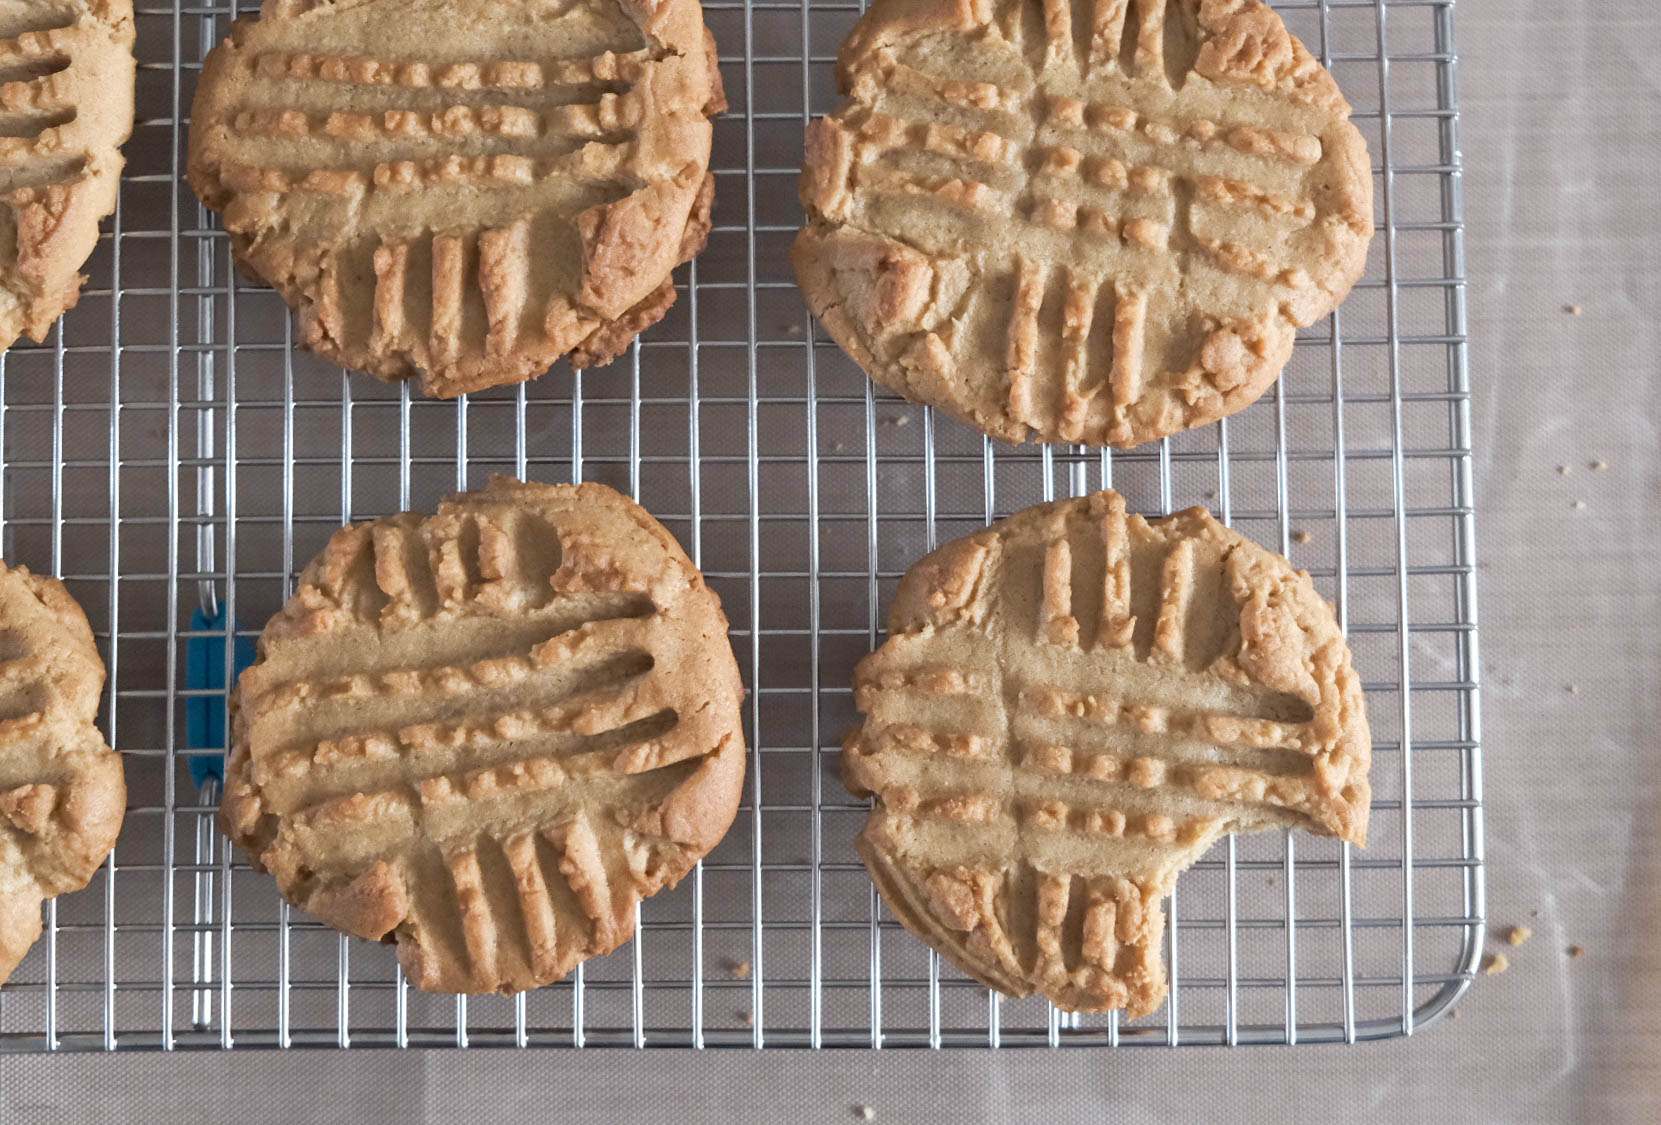
  6. Next using a fork, press down your cookies, making kind of a hashtag pattern (shown above).
  7. Bake for 12-15 minutes, let cool a few minutes, then transfer to a cooling rack.

Notes

  • You can definitely use any peanut butter you like, I just find that some make the cookies even sweeter, which is totally fine!

Here is the hand mixer I have been using for 10+ years and still works amazing: Hand Mixer

The baking sheet and rack I use, it even comes with a silicone baking mat: Baking Sheet and Rack

Silicone baking mat: Silicone Baking Mat

Some rubber spatulas that are very handy: Rubber Spatulas

My favorite vanilla for baking: Pure Vanilla Extract

The camera we use: Fujifilm Camera Fujifilm Camera with Lens