The Best Guacamole Ever

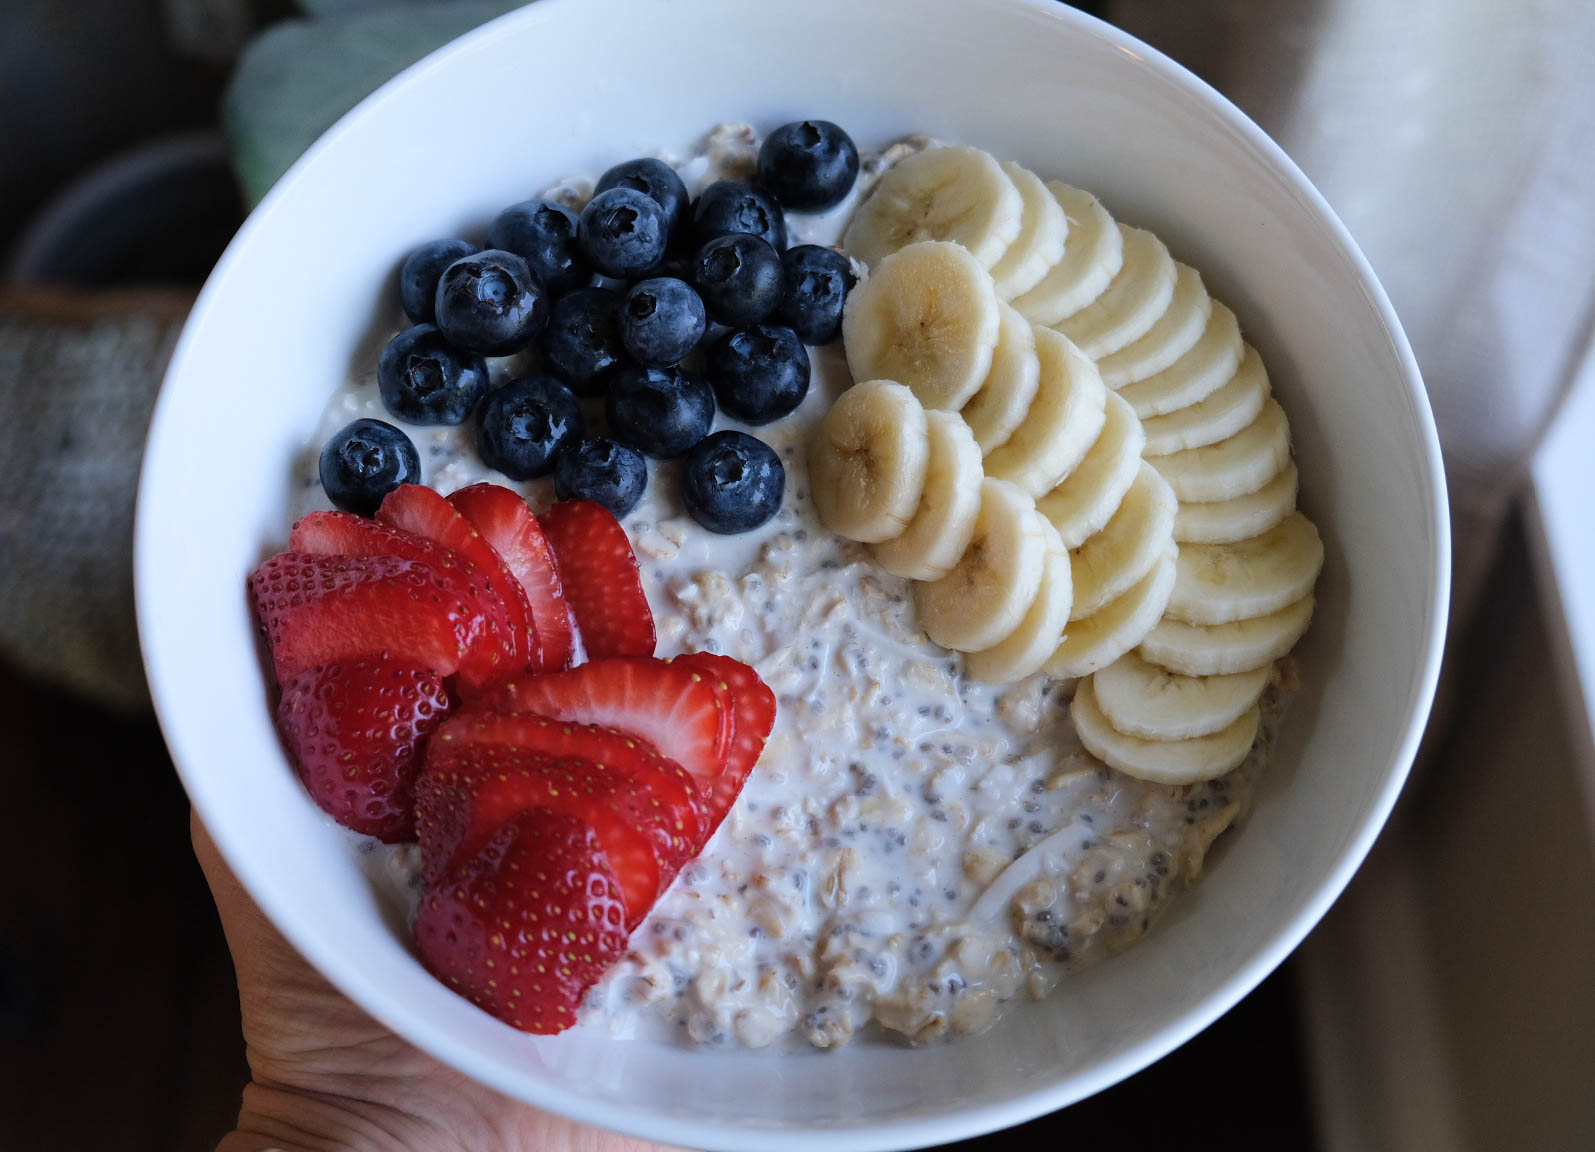
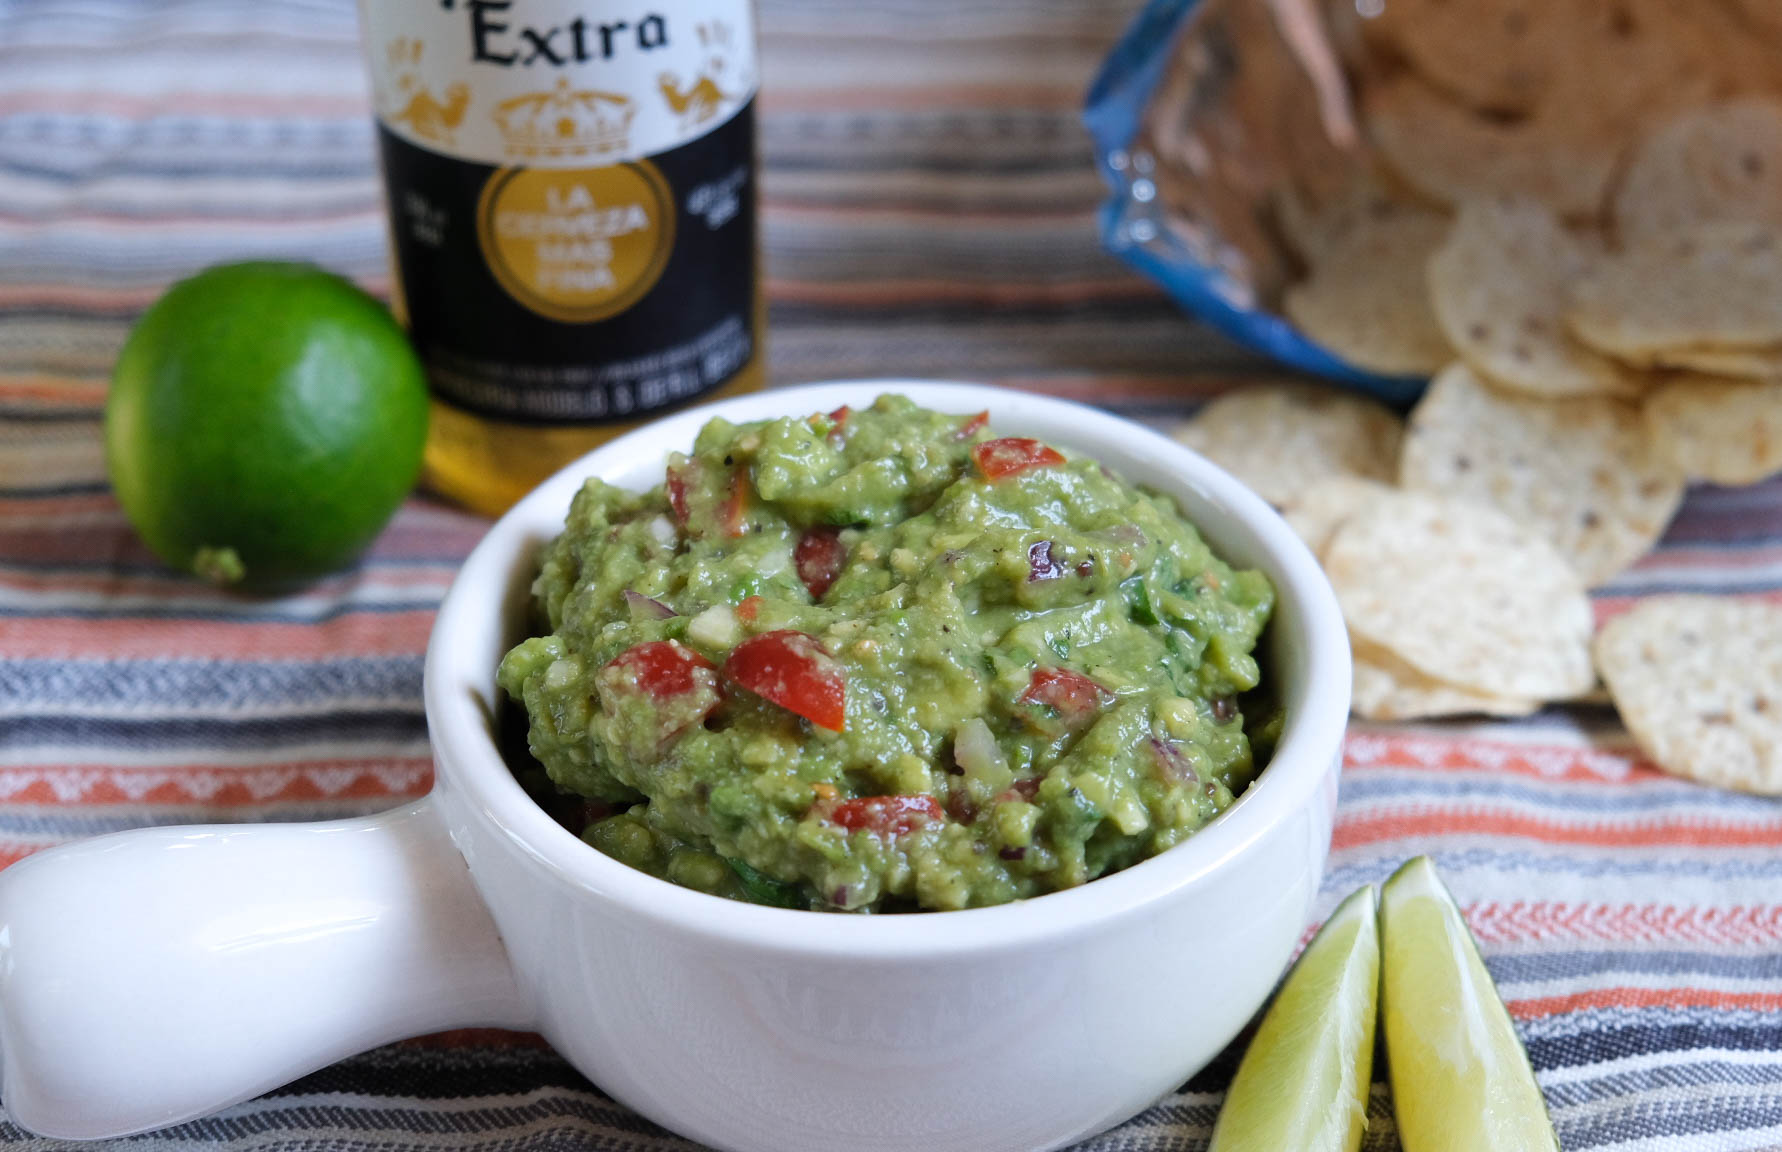
There are a lot of things that you will never see me buy from the grocery store and you can bet that one of them is pre-made guacamole. It is always too mushy and never has any flavor. For me, making it at home is so much tastier and way more fresh than store bought. And if you have never made it, you might be surprised how easy it is and how quickly it comes together.

This guacamole also goes great on my Shrimp Taco recipe!

Best Guacamole
Just chop all the ingredients and mix, it’s so easy!

Ingredients

  • 4 small ripe avocados (or 3 large)
  • Juice of three limes (adjust to your taste)
  • 1/2 cup diced cherry/grape tomatoes, you could also use roma tomatoes
  • 2 cloves of garlic minced
  • 1/2 cup lightly packed cilantro rinsed and chopped
  • 1/4 cup diced red onion
  • 1 Jalapeño seeded and finely chopped
  • 1 Tablespoon of good extra virgin olive oil
  • kosher salt and fresh cracked pepper to taste (about 1-2 teaspoons each)

Directions

  1. Cut your avocados in half and remove the pit, then scoop out the flesh of the avocados with a spoon. Put into a bowl with your lime juice and mash with a fork or a potato masher works great. Don’t mash too much if you like your guac a little chunky.
  2. Cut and or dice all of your veggies and herbs and add to the bowl, along with your olive oil, salt and pepper. I like to start off with about 1 teaspoon each or salt and pepper, tasting as I go to see if more is needed.
  3. Stir all of your ingredients and you are done!

Tips: This, like a few of my other recipes requires you to taste as you go. For example, if you need more lime, garlic etc. just add more! I never actually measure my ingredients for this recipe. I just eyeball the amounts and taste it as I go, making sure to use a clean spoon every time if I am serving to others.

If you try this recipe please tag me on Instagram because I would love to see!

The Best Overnight Oats

This is one of my favorite things to make when I know I am going to have a busy morning the next day. I keep my overnight oats in mason jars so they are quick to grab and go, and if you’re not in a rush, just easy storage.

We all have busy mornings, sometimes more than others, so why not make things a little easier. I like to store these in smaller jars with space in the top for fruit.

Add your oat or almond milk last
Your mixture should look like this
Place your jar in the fridge over night
Overnight oats with fruit
Overnight Oats

Ingredients

  • 2 cups whole oats (I use the quick oats)
  • 1 cup vanilla yogurt (We love the Oikos 25% less sugar)
  • 1/2 cup shredded coconut
  • 2 tablespoons chia seeds
  • 2 tablespoons maple syrup for sweetness (optional)
  • 2 cups unsweetened almond or oat milk
  • 1 splash pure vanilla extract
  • Fresh fruit for topping

Directions

  1. Stir all of your ingredients together in a bowl until combined.
  2. Pour into mason jars, I like to use a canning funnel because it makes things easier.
  3. Refrigerate overnight (as least 10 hours) and enjoy your oats in the morning with some fresh fruit.

Tips: This keeps pretty well in the refrigerator for 3-4 days. If you are taking them on the go, leave some empty space in the top if you want to add some fresh fruit.

Craving something different for breakfast? Try some of my other recipes below!

Breakfast Tacos

French Toast with Black Sesame Paste

Breakfast Smoothie

Please follow and tag me on Instagram if you try this recipe, I would love to see it!

Easy No-Fail Pie Crust

I don’t often bake pies but whenever I do I use my grandma Nancy’s pie crust recipe because it works perfectly every single time. It’s not only great for sweet pies, but savory pies as well like my favorite chicken pot pie.

1. (all ingredients before water)
2.
3. (All ingredients mixed together)
4. (finished pie crust ready to bake)
5. (The baked pie crust)

This recipe makes two crusts. So two pies with only the bottom crust, or one pie with a top and bottom crust.

Ingredients

  • 3 cups flour- scooped and top leveled with the back of a butter knife
  • 1 teaspoon salt
  • 1 cup + 3 tablespoons of vegetable shortening
  • 6 tablespoons cold water (I just fill a bowl or measuring cup with water and a few ice cubes and scoop it from there with my measuring spoon)

Directions

  1. Add your flour and sugar to a bowl and whisk together. Mix in your vegetable shortening and use a pastry cutter to do so. Once it looks like photo 2 (above), add in your water and mix again until it looks like photo 3. If it seems a little too dry, add another tablespoon of water, and if it seems a little too wet, add in a little more flour. After the pastry cutter, I like to mix it with my hands a bit and make it into one big log of dough.
  2. Cut your dough into two equal size pieces, and put half of it onto a clean floured counter top. Sprinkle the top of the dough with flour as well and use a rolling pin to roll out your first crust into a circle, about 1/4 inch thick, maybe even a little thinner. Keep adding flour to the top of your dough because you don’t want it to stick to your rolling pin.
  3. To put your crust into your pie plate, roll it onto the rolling pin, adding flour to the bottom of the crust (the part that was touching the counter) so it doesn’t stick together. Then roll it out onto your pie plate.
  4. Do the same thing as before to make a top for your pie, or make a cute design like I did above. Although I’ll admit mine could use some work!
  5. Bake your pie as usual, I made rhubarb pie with this crust and set it to °375 for 40 minutes. Don’t forget to add some holes in your crust to let moisture out. We don’t want any soggy crusts!

Tips: For left over pie crust, I just roll it out, add butter sugar and cinnamon and roll it up like a log. Bake for about 15 minutes before checking to see if it is done!