The Best Pig Pickin’ Cake with Coconut

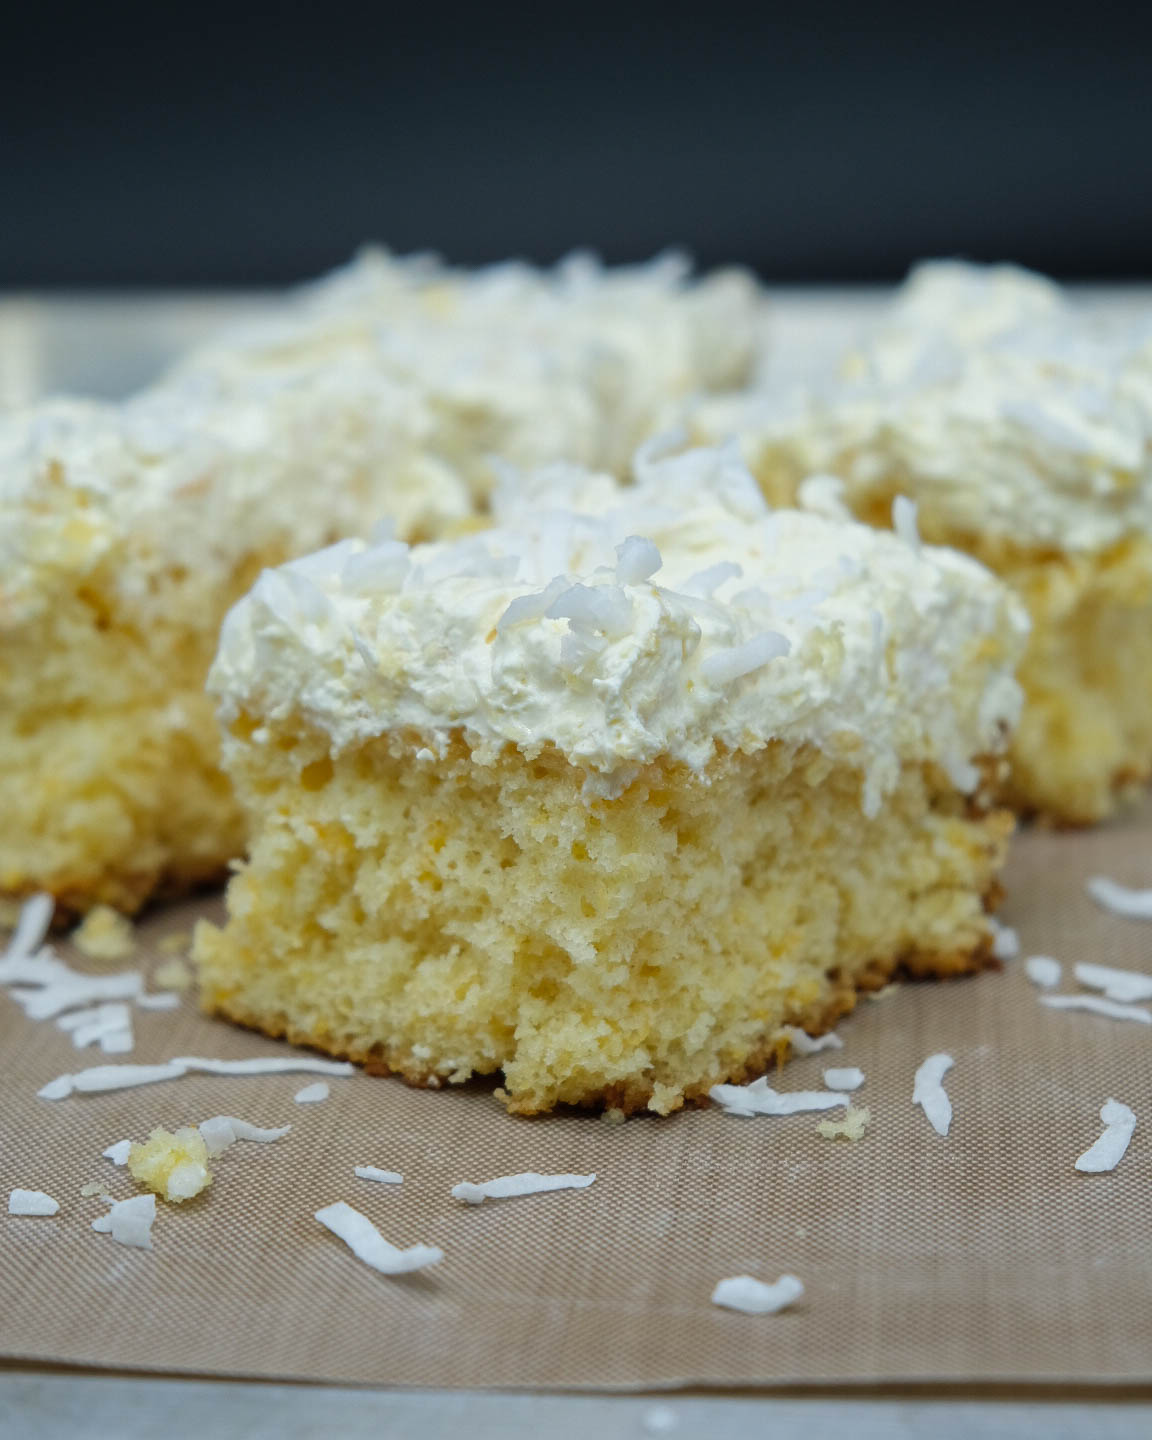
There are so many recipes for Pig Pickin’ Cake on the internet, but this is the way my grandma used to make it so I hope you enjoy it. She always called it “Refreshing Cake” because she thought that perfectly described it. And if you have ever had this cake before I’m sure you would agree. With the pineapple, mandarin oranges and cool whip, this cake is very refreshing!

Something else I love about this cake is that the ingredients are easy to keep on hand. If you know you’re going to have to make a cake but you’re going to be busy, the ingredients can be bought ahead of time and keep well. The recipe is so easy and quick, besides the actual baking time, the only thing that takes a little more time is waiting for the cake to cool. Which can be sped up by putting the pan in the fridge on some trivets or a wire cooling rack.

I think this recipe is better when the cake has time to sit, so making it the day before you need it is a great option. If you don’t have time to make it day of, make it the day before and keep refrigerated.

The coconut flakes add a lovely texture but it’s totally optional

I prefer to use a hand mixer when I mix my batter because it helps break up the mandarin oranges. It’s also a little faster and let’s be honest, it’s more fun for the kids if they are helping! (Just make sure you are monitoring/helping the youngins if you are using a mixer!)

This is what your batter should look like before baking
Your beautiful Pig Pickin’ Cake with coconut

I like to use my 9X13 pan with a lid because as soon as your cake is ready, cut it and put the lid on, you’re good to go. Here is another 9X13 pan with a higher lid so the topping doesn’t stick to the lid.

You can eat this cake right after making it but I think it tastes better if it sits. Either for a few hours or overnight for best results. It gives the instant pudding mix time to dissolve/mix with the cool whip topping for a better texture and flavor.

The Best Pig Pickin’ Cake with Coconut

Blaire
Prep Time 15 minutes
Cook Time 30 minutes
Cooling Time 1 hour
Total Time 1 hour 45 minutes
Servings 15

Ingredients
  

For the Cake

  • 1 box White or yellow cake mix
  • 1 can Mandarin oranges in their juice do not drain
  • 3 Egg whites
  • 1/2 cup vegetable or canola oil

For the Topping

  • 1 16oz Cool Whip topping
  • 1 package Instant vanilla pudding mix
  • 1 can Crushed pineapple in juice do not drain
  • 1/2 cup Sweetened flaked coconut plus extra for topping

Instructions
 

For the Cake

  • Preheat oven to 350°. Mix cake ingredients together in a bowl with a hand mixer for a minute or two, scraping the sides with a silicone spatula to make sure everything is incorporated
  • Pour into a greased 9X13 baking pan. Bake for 20-25 minutes for until a toothpick inserted comes out clean. Let cool while you make the topping

For the Topping

  • Combine the topping ingredients in a bowl and stir with a spoon or silicone spatula. Top your cooled cake, spreading evenly and add coconut to the top. Enjoy!

Storage

  • Keep covered and in the refrigerator.

Notes

For best results, make sure your cake is fully cooled so it doesn’t melt your whipped topping.
Let sit for a few hours before eating if possible. This lets the instant pudding dissolve and tase even better!

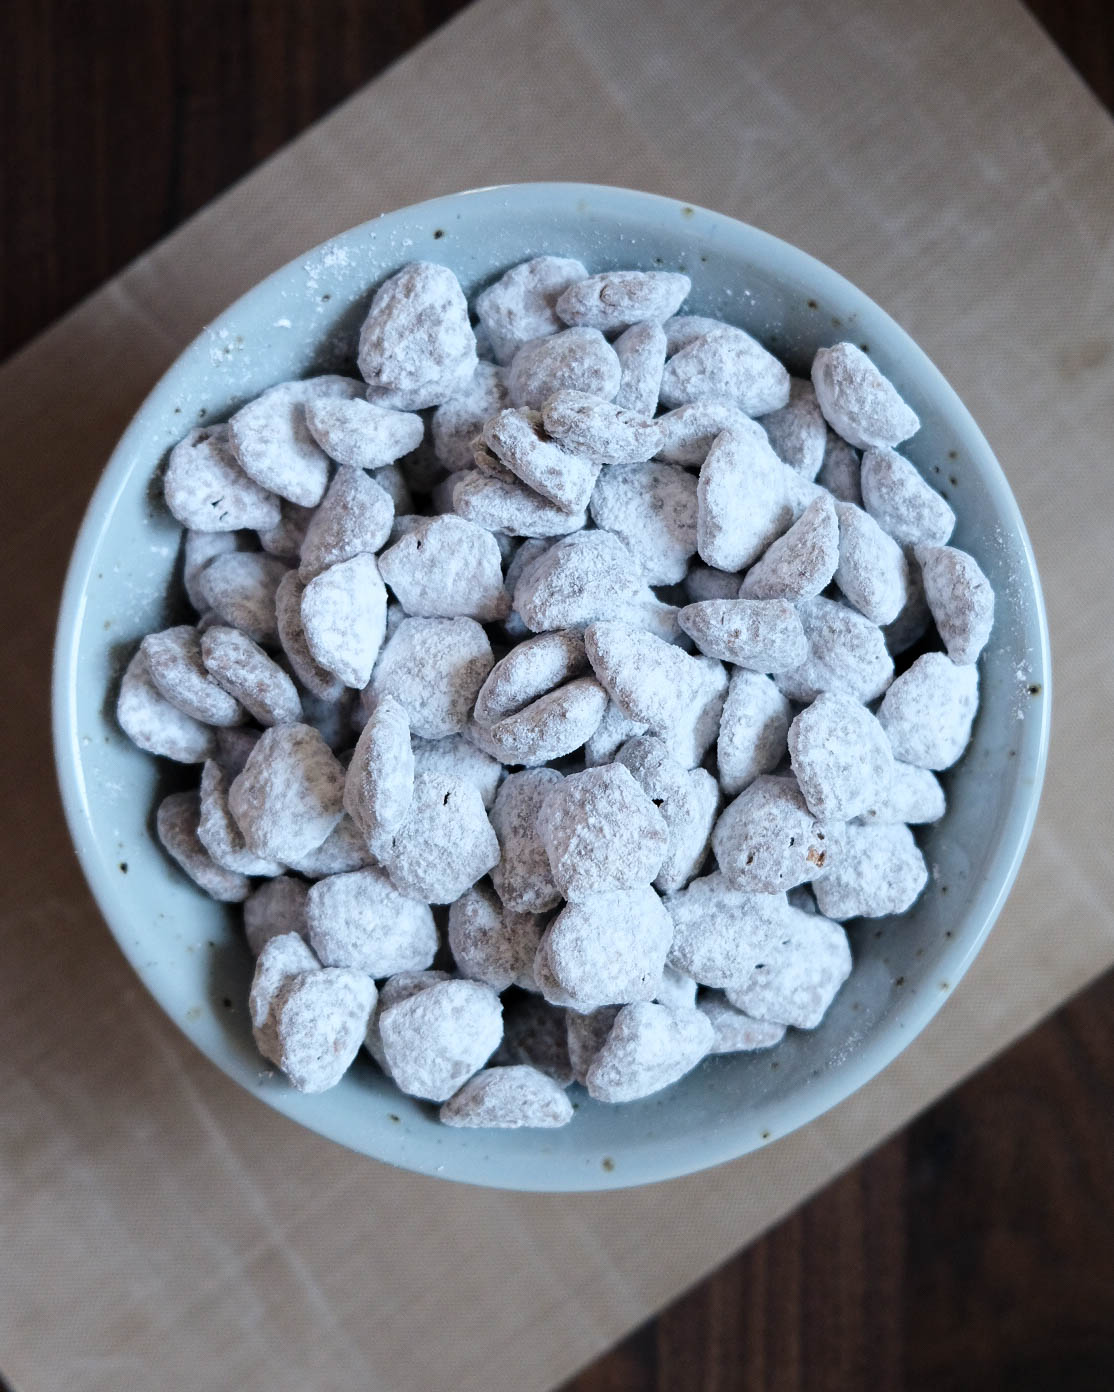
Try my Puppy Chow Recipe for your looking for a dessert that is even quicker/easier to make!

The Best Puppy Chow with 5 Ingredients

Jump to Recipe

When I was growing up, Puppy Chow was one of my favorite snacks that my mom would make for us. Not only is it yummy but its very easy to make and she always let us help. This recipe is so great because we usually always have all the ingredients on hand, and you only need 5 things!

I know some people called these “Muddy Buddies” but where I am from we called it Puppy Chow. Which sometimes concerned people when we told them we would bring it to a potluck or as a snack.

Easy and made with only 5 ingredients

For this recipe you only need a few things, a small pot, a silicone spatula, and a large bowl with a lid. If you don’t have a bowl big enough with a lid that’s okay. The lid just makes it easier to mix at the end, plus its fun to let the kids shake up!

Puppy Chow

Puppy Chow

Blaire
Easy Puppy Chow with only 5 ingredients
5 from 1 vote
Prep Time 0 minutes
Cook Time 5 minutes
Total Time 5 minutes
Course Dessert
Cuisine American
Servings 10

Ingredients
  

  • 8 cups Crispix Cereal
  • 1.5 cups semi-sweet chocolate chips
  • 1 cups peanut butter creamy
  • 1-2 tablespoons vegetable oil or butter
  • 2.5 cups powdered sugar

Instructions
 

  • Measure out your cereal into an extra large mixing bowl
  • On low heat, melt your chocolate chips and oil/butter together, stirring continuously until smooth. Don't walk away from your chocolate because it can burn very quickly!
  • Once the chocolate has melted, turn off the heat and stir your peanut butter until combined.
  • Pour mixture over Crispix and stir gently with a silicone spatula until the cereal is evenly coated.
  • Add your powdered sugar and shake with a secure lid (if possible). If you do not have a lid, carefully shake until cereal is evenly coated with the powdered sugar. Enjoy!

This recipe not for you? Try my favorite Peanut Butter Oatmeal Cookies with Chocolate Chips, it’s a firehall favorite!

Please let me know if you try out any of my recipes and tag me on Instagram because I would love to see it!

The Best Lemon Square Recipe

One of my favorite scents is freshly squeezed citrus. It makes me think of spring, it’s fresh and it just makes me happy! Lemon bars made with freshly squeezed lemons with a flakey sweet crust, even better.

Lemon bars are one of the things I made a lot when I started to bake by myself. They were easy and we always had all of the ingredients on hand. I loved making these for friends because I would always hear them say “I don’t really like lemon” or something to that extent. But when they took a bite of my lemon bars, I could tell by the look on their face that I had changed their mind.

To this day, this recipe still brings me joy and remembering how many people love them. I want to share this recipe in hopes that they will be enjoyed even more.

Your crust might look dry/crumbly, that’s okay!
I judge my crust by the edges, they are a nice golden brown.
Fresh out of the oven.
My helper for today, Leni

Ingredients For the Crust

  • 1 cup or 2 sticks butter (I use salted at room temperature)
  • 2 cups flour
  • 1/2 cup powdered sugar (plus more for topping)

Ingredients For the Filling

  • 4 eggs
  • 2 cups sugar
  • 1/3 cup lemon juice (I use fresh but you can use bottled)
  • 1/4 cup flour
  • 1/2 teaspoon baking powder

Directions

  1. For the crust: Mix butter, flour, and powdered sugar together with a hand mixer, then use your hands to really incorporate the butter. Your mixture will look a little dry/crumbly and that’s totally fine!
  2. Press the mixture into a 13×9 inch baking dish, and bake at 350° for 25 minutes or until light brown.
  3. For the filling: Mix the eggs, sugar, lemon juice, flour and baking soda together and pour over the crust, return to the oven for an additional 25 minutes.
  4. Cool and cut into squares, sprinkle with powdered sugar and enjoy!

Notes

I like to loosen the edges of the bars a few minutes after they come out of the oven, it makes it easier later to remove them from the pan.

I like these baking dishes because they come with nice lids for food storage: Baking Dishes

This is the hand mixer I have used for the last 10+ years and its great: Hand Mixer

The camera we use: Fujifilm Camera Fujifilm Camera with Lens