The Best Puppy Chow with 5 Ingredients

Jump to Recipe

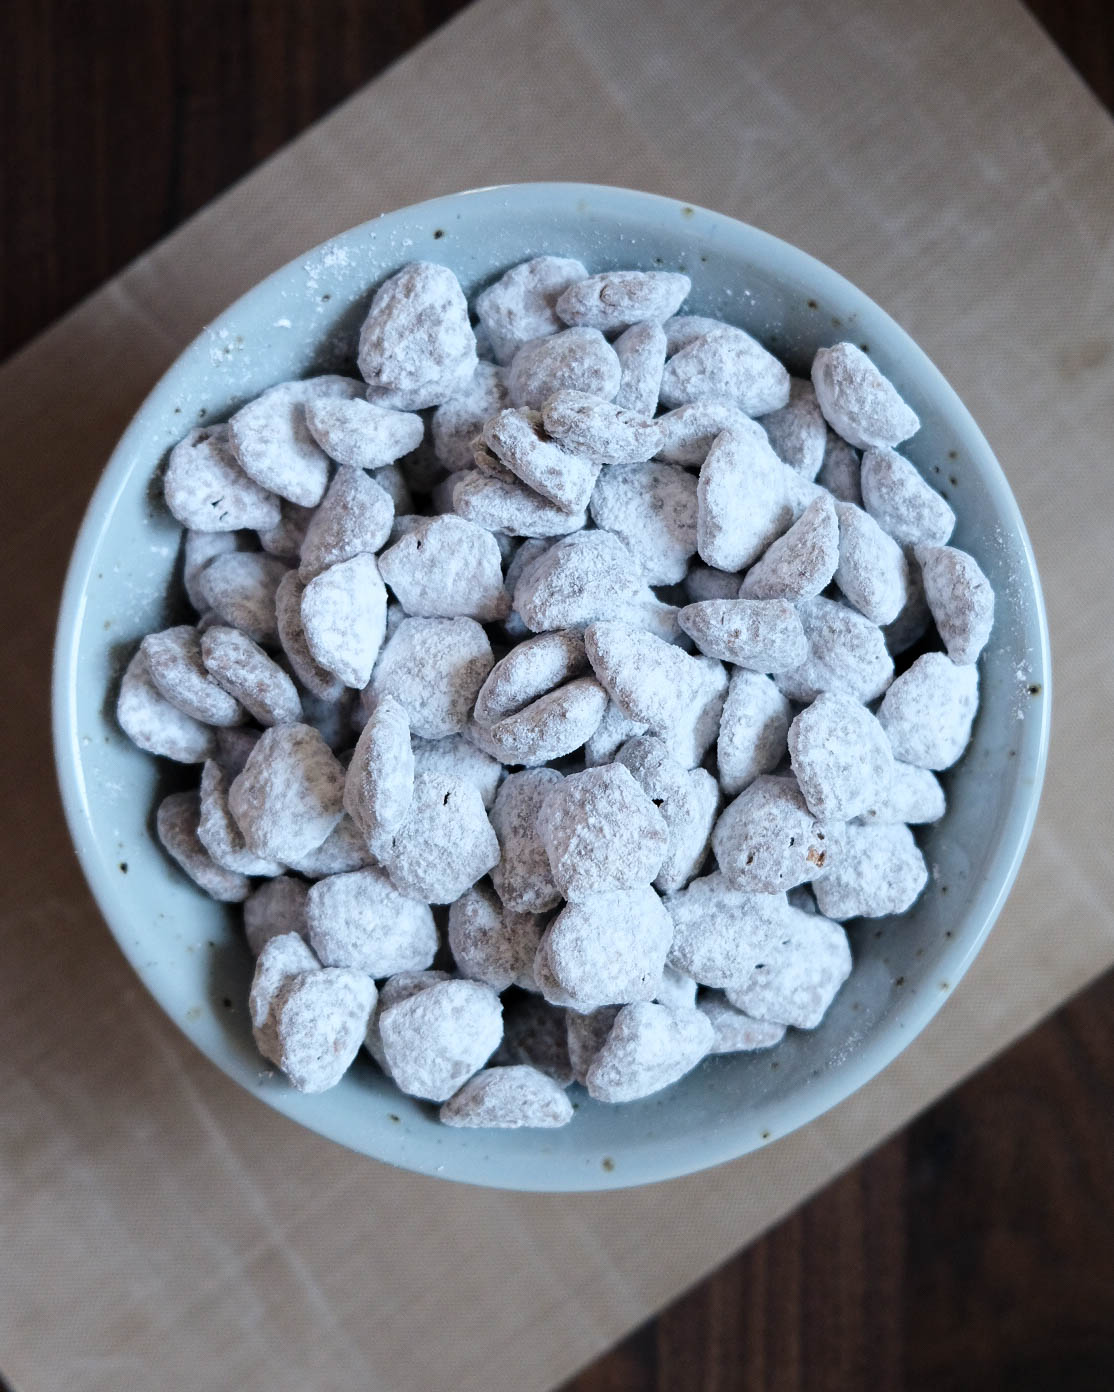
When I was growing up, Puppy Chow was one of my favorite snacks that my mom would make for us. Not only is it yummy but its very easy to make and she always let us help. This recipe is so great because we usually always have all the ingredients on hand, and you only need 5 things!

I know some people called these “Muddy Buddies” but where I am from we called it Puppy Chow. Which sometimes concerned people when we told them we would bring it to a potluck or as a snack.

Easy and made with only 5 ingredients

For this recipe you only need a few things, a small pot, a silicone spatula, and a large bowl with a lid. If you don’t have a bowl big enough with a lid that’s okay. The lid just makes it easier to mix at the end, plus its fun to let the kids shake up!

Puppy Chow

Puppy Chow

Blaire
Easy Puppy Chow with only 5 ingredients
5 from 1 vote
Prep Time 0 minutes
Cook Time 5 minutes
Total Time 5 minutes
Course Dessert
Cuisine American
Servings 10

Ingredients
  

  • 8 cups Crispix Cereal
  • 1.5 cups semi-sweet chocolate chips
  • 1 cups peanut butter creamy
  • 1-2 tablespoons vegetable oil or butter
  • 2.5 cups powdered sugar

Instructions
 

  • Measure out your cereal into an extra large mixing bowl
  • On low heat, melt your chocolate chips and oil/butter together, stirring continuously until smooth. Don't walk away from your chocolate because it can burn very quickly!
  • Once the chocolate has melted, turn off the heat and stir your peanut butter until combined.
  • Pour mixture over Crispix and stir gently with a silicone spatula until the cereal is evenly coated.
  • Add your powdered sugar and shake with a secure lid (if possible). If you do not have a lid, carefully shake until cereal is evenly coated with the powdered sugar. Enjoy!

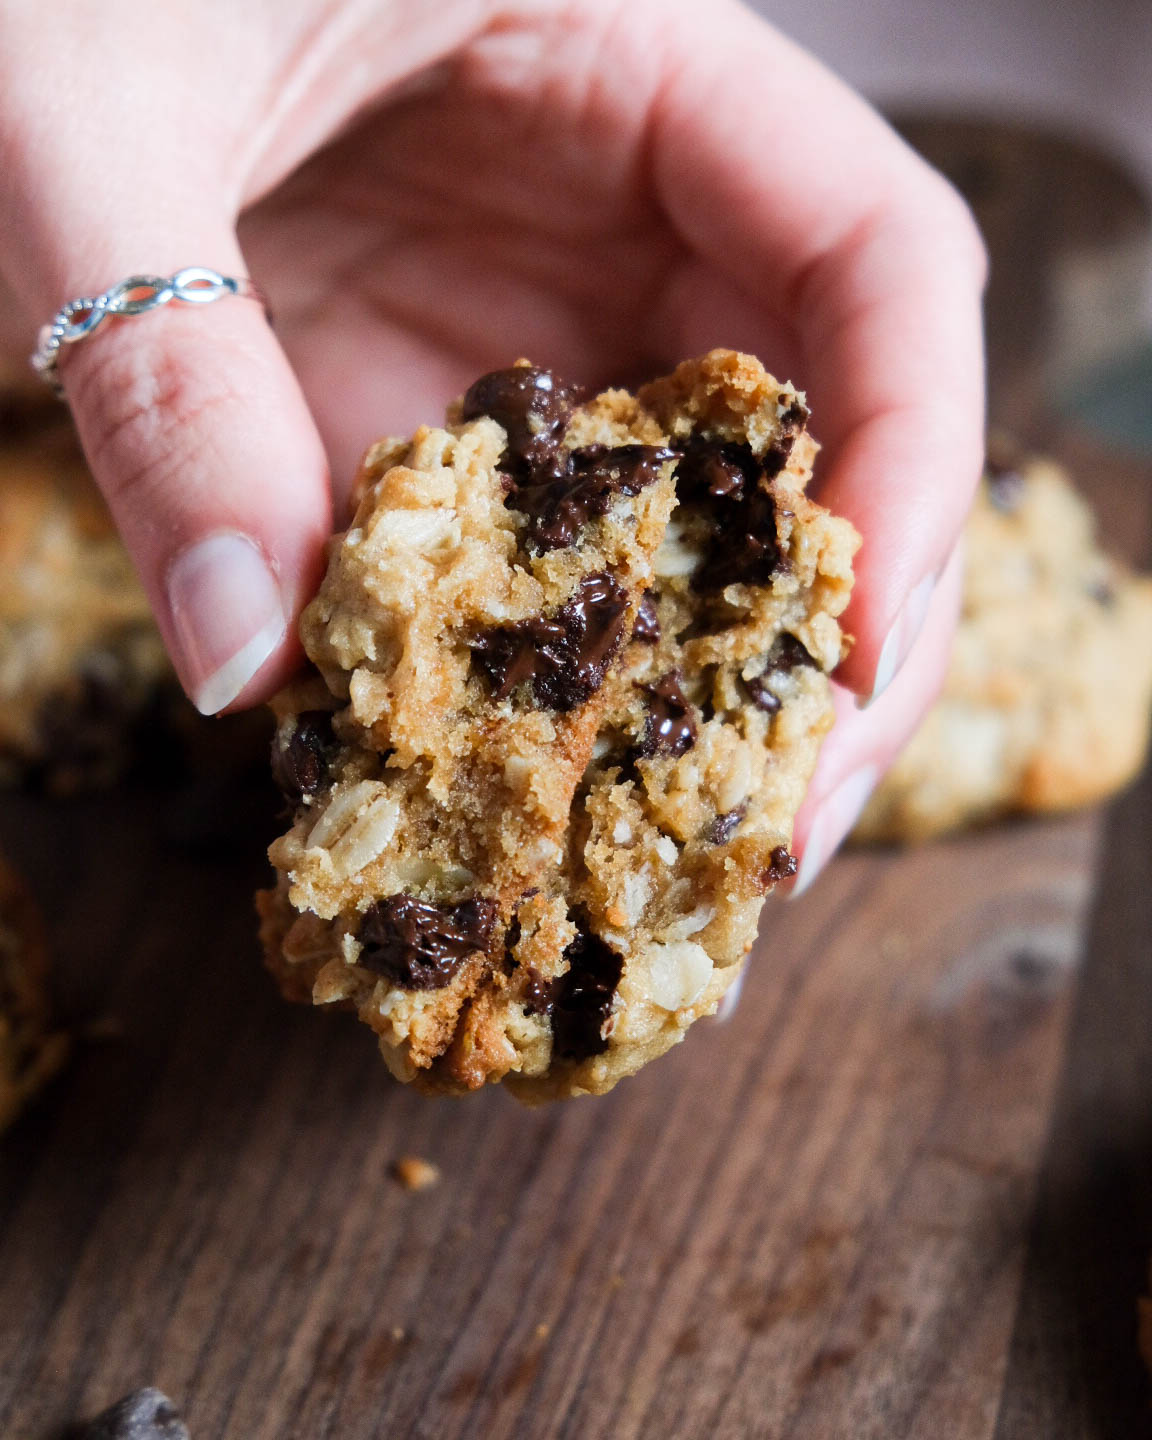
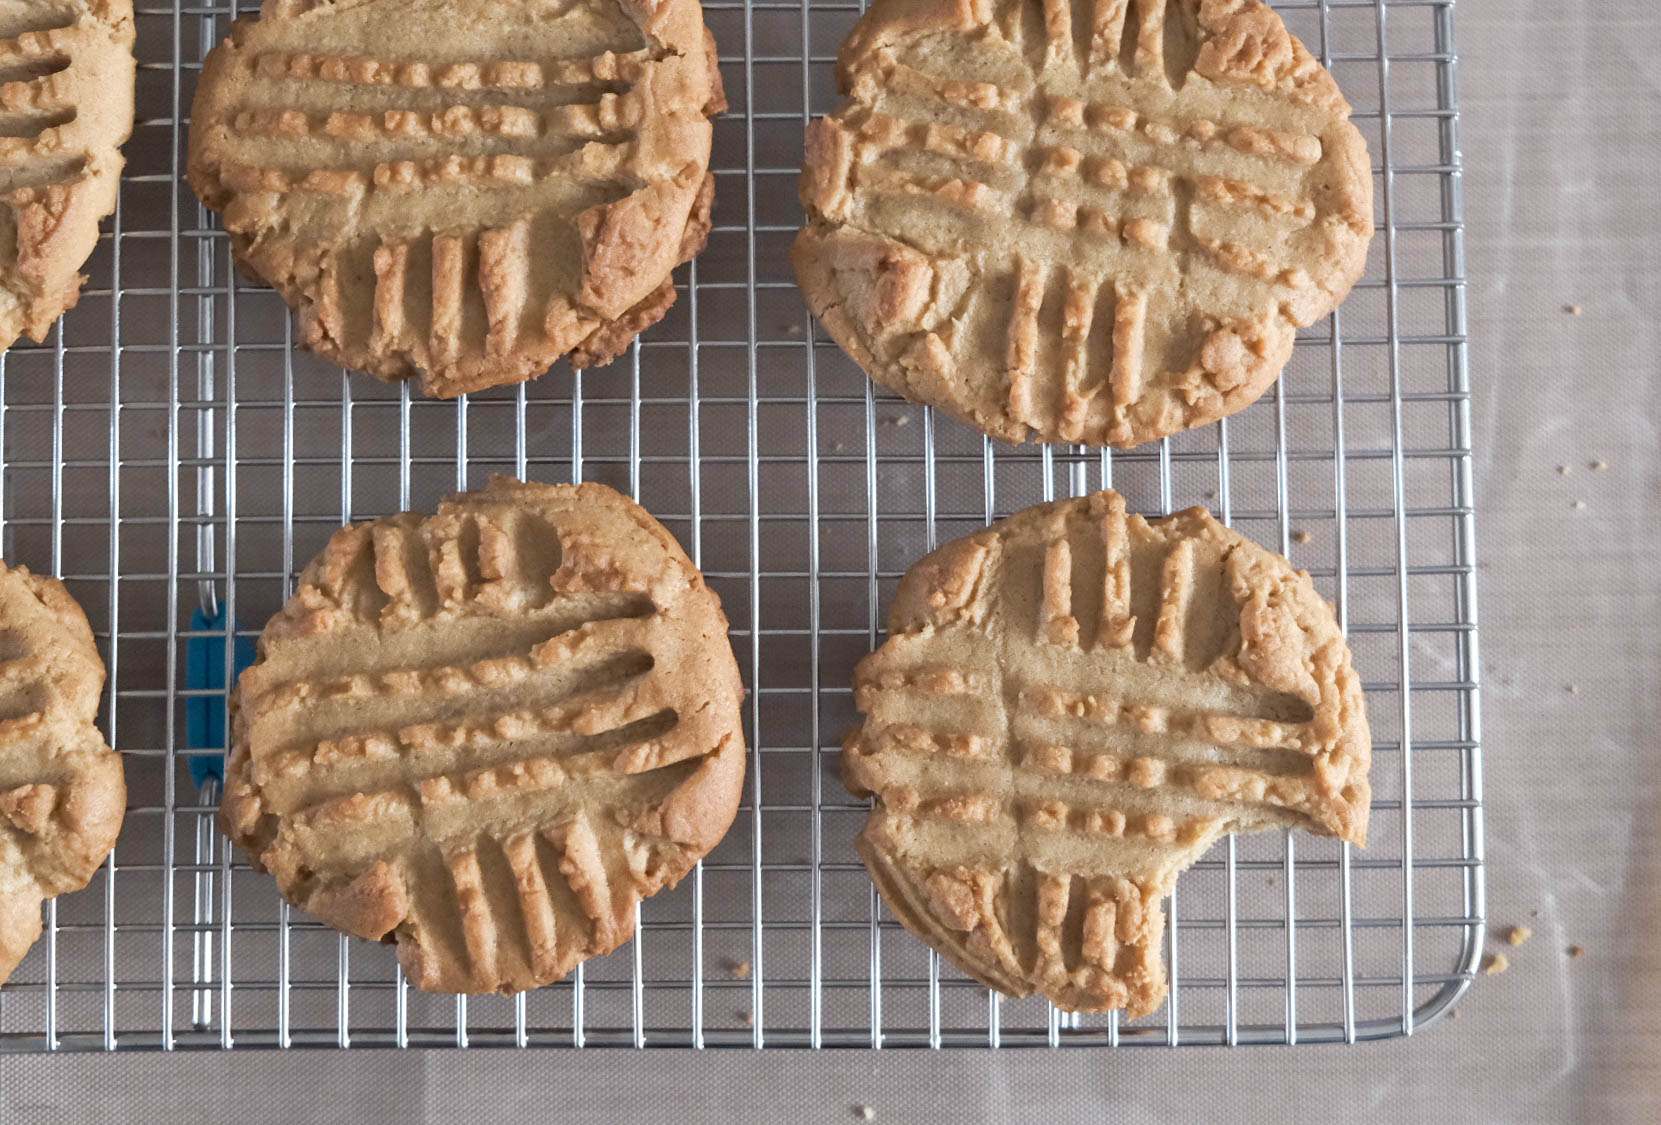
This recipe not for you? Try my favorite Peanut Butter Oatmeal Cookies with Chocolate Chips, it’s a firehall favorite!

Please let me know if you try out any of my recipes and tag me on Instagram because I would love to see it!

The Best Peanut Butter Oatmeal Cookies with Chocolate Chips

One of my favorite things to bake is cookies, and I have to say these peanut butter oatmeal cookies are the best. I make them more often than any other cookies and I get so many compliments and people asking for the recipe.

This makes about three dozen cookies so if you aren’t making them for a crowd, you could half the recipe. I always end up making the full batch and sending them with my husband to the firehall. I also love to give them away because who doesn’t want homemade cookies! The last batch I made lasted until 9 am at the firehall, they were devoured, and they are so easy to make.

Scoop your dough evenly after refrigerating
Peanut Butter Oatmeal Cookies with chocolate chips

Ingredients

  • 1 1/2 cups all-purpose flour
  • 1 teaspoon baking soda
  • 1 teaspoon baking powder
  • 1 tsp salt
  • 1 cup or two sticks of butter (softened)
  • 1 cup granulated sugar
  • 1/2 cup packed brown sugar (I used dark but light is fine)
  • 2 large eggs room temperature (I let mine sit on the counter about 30 minutes before baking)
  • 1 cup peanut butter (we love the 100% peanuts peanut butter)
  • 2 teaspoons pure vanilla extract (you can use baking vanilla in a pinch)
  • 2 cups whole oats
  • 2 cups semi-sweet chocolate chips

Directions

  1. Preheat your oven to 350° or 325° if you have the option for convection
  2. Whisk your flour, baking soda, baking powder and salt in a medium sized bowl and set aside
  3. In a large bowl, beat your butter until smooth and creamy, then add your sugars and beat again until creamed (a minute or two). Add your eggs, peanut butter and vanilla and beat again until everything is combined. Make sure to scrape the sides of the bowl with a silicone spatula.
  4. Add about half of your dry ingredient mixture to your bowl and mix, then add the rest and mix until well combined. Add in the oats and chocolate chips and stir to incorporate.
  5. Cover with cling wrap and refrigerate for about 2 hours up to overnight, if you don’t have that kind of time just pop it in the freezer until you’re ready to make.
  6. Line your baking sheet/s with parchment paper or a silicon baking mat and scoop even balls of dough onto them and bake for 12-14 minutes. If your dough is a little too hard to scoop, let it sit out for 30 minutes to thaw. A scoop makes this job super easy!
  7. Remove cookies from the oven and let cool for a few minutes, then carefully transfer to a wire rack to cool completely.

Also try my favorite peanut butter cookies!

Simple and Delicious Peanut Butter Cookies

This is probably my favorite cookie recipe. It’s so simple but such a staple for anyone who loves peanut butter.

Now, I used to always make this recipe with shortening, which also makes amazing crumbly cookies. But lately I have been using butter in them and let me tell you, the flavor is so good! The dough from this recipe is also a little easier to work with, it holds together much better.

I used an ice cream scoop (size 40) for my peanut butter cookies.

Today was oddly warm and the pups were super happy about it! They were pretty sleepy while I was baking.

Enjoying some sun.

Ingredients

  • 3 cups flour
  • 1/2 tablespoon baking powder
  • 1/2 tablespoon baking soda
  • 1/2 teaspoon salt
  • 1 cup brown sugar
  • 1 cup white sugar
  • 1 cup (or two sticks) of butter softened/room temperature (or you can use vegetable shortening)
  • 2 eggs
  • 1 cup 100% peanut butter
  • 2 teaspoons pure vanilla extract

Directions

  1. Preheat your oven to 350°
  2. Add your flour, baking powder, baking soda and salt to a medium bowl and whisk until combined, set aside.
  3. In a large bowl, mix your butter, eggs, sugars, vanilla and peanut butter until it has a nice whipped consistency (about a minute or two).
  4. Slowly add your flour mixture into your wet ingredients, mixing until combined. Making sure to scrape the sides of your bowl with a rubber spatula so that everything is incorperated.
  5. Chill your dough for 1-2 hours (this is optional), then using an ice cream scoop, scoop the dough onto cookie sheet, lined with either parchment paper or with a silicone baking mat. Making sure your cookies are about the size of a golf ball.
  6. Next using a fork, press down your cookies, making kind of a hashtag pattern (shown above).
  7. Bake for 12-15 minutes, let cool a few minutes, then transfer to a cooling rack.

Notes

  • You can definitely use any peanut butter you like, I just find that some make the cookies even sweeter, which is totally fine!

Here is the hand mixer I have been using for 10+ years and still works amazing: Hand Mixer

The baking sheet and rack I use, it even comes with a silicone baking mat: Baking Sheet and Rack

Silicone baking mat: Silicone Baking Mat

Some rubber spatulas that are very handy: Rubber Spatulas

My favorite vanilla for baking: Pure Vanilla Extract

The camera we use: Fujifilm Camera Fujifilm Camera with Lens

Easy Frozen Dog Treats with Only 5 Ingredients

We all love our pups and it’s so nice to make then a fresh homemade snack sometimes. We don’t usually buy dog treats from the store because our pups have pretty sensitive stomachs, so we usually go the homemade route. Here is an easy dog treat recipe with only 4 ingredients that your pup will love!

Honestly, our dogs are not picky so we could probably through anything in here and they would love it. You can switch out ingredients, just make sure to do your research and make sure they are dog friendly!

I did a super simple mixture that I blended with a little water and some of their favorite things. Please check it out and let me know if you try it!

My pups waiting patiently for their treats
Trying to get a focused picture of these two is not easy

Ingredients

  • 1 ripe banana
  • 1/2 cup frozen or fresh blueberries
  • 1/4 cup plain yogurt
  • 1 spoonful of 100% peanut butter
  • 1/4 cup water

Directions

  • Put all of your ingredients into a blender and blend until smooth
  • Pour the mixture into a silicone mold and freeze for a couple hours, or until frozen all the way through
  • Pop out of the molds and store in the freezer for a few weeks

Here is a link to help you know some foods your lovely pups can and cannot have

People Foods Dogs Can and Can’t Eat

These are the silicone molds I used. They are a little flimsy but very easy to remove the treats: Silicone Molds

I actually used these bottles to help squirt the smoothie mixture into the molds: Squeeze Bottles

The blender we use: Vitamix Blender

The camera we use: Fujifilm Camera Fujifilm Camera with Lens